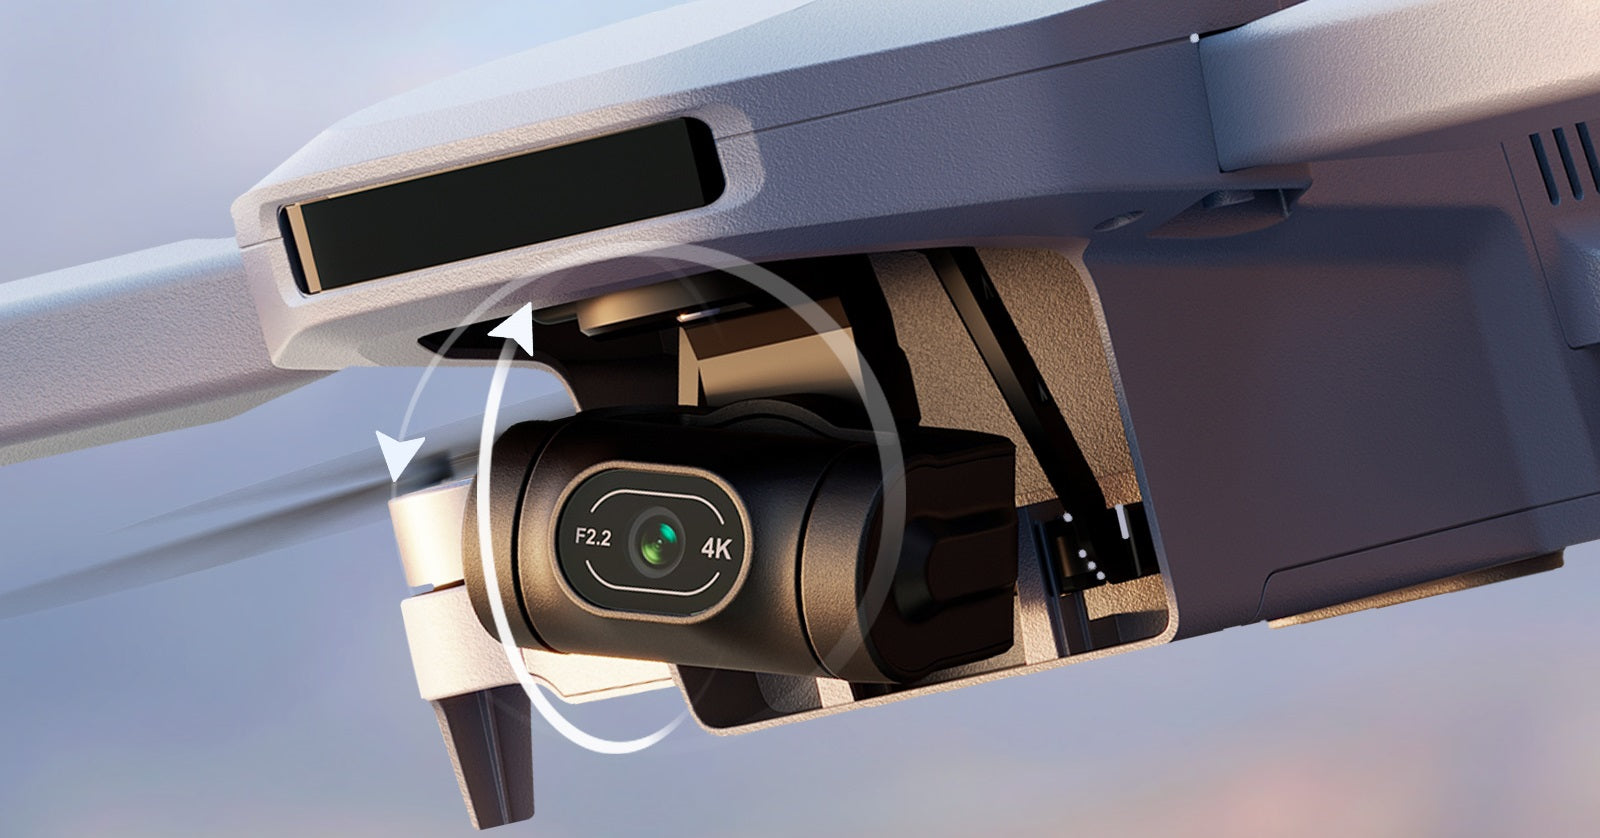
To capture smooth and stable footage, properly calibrating your Potensic drone's gimbal is essential. This guide walks you through each step, from selecting an optimal environment to verifying calibration results, ensuring your drone operates at its best. Whether you're a new drone user or looking to refine your setup, these tips will help you avoid common calibration issues and get the most out of your equipment.
Preparation
-
Environmental Selection
- Choose a flat, interference-free, and well-lit area for calibration. Avoid operating near metal objects (such as iron fences, cars, etc.) since metals may affect the drone’s compass and gimbal calibration. Try to avoid calibrating in windy conditions, as strong winds could destabilize the drone and impact the calibration process.
-
Equipment Check
- Ensure your Potensic drone’s battery is sufficiently charged, typically over 50%. Low battery levels could cause the device to shut down unexpectedly during calibration, interrupting the process.
- Inspect the gimbal for any physical damage, such as loose gimbal arms or cracks on the lens. If there’s any damage, the equipment may need to be repaired before calibration.
Calibration Process
-
Power On the Drone and Controller
- First, turn on the controller, then the drone. Wait for the drone and controller to complete the self-check and connection process, ensuring a stable link between the two. You can check the connection status through the indicator lights on both the controller and the drone.
-
Enter Calibration Mode
- Open the app PotensicPro and connect it to the drone. From the main interface, locate the "Settings" option, then find the gimbal calibration settings. Tap “Start Calibration” to enter the gimbal calibration mode.

Calibration Steps
-
Start Calibration
- Once in gimbal calibration mode, the drone will prompt you to place it on a flat surface. Follow the on-screen instructions and ensure the drone is placed steadily on level ground with the bottom facing up.

- The gimbal will automatically perform horizontal calibration. You can monitor the progress through the app interface. During calibration, avoid touching the drone to ensure accuracy.
- After the calibration is complete, the app will prompt "Calibration Succeeded"

Completion
-
Verify Calibration Results
- Once the calibrations are completed, the app will display a success message. You can check the gimbal's attitude data on the app interface to ensure that the data is normal. For example, the pitch, roll, and yaw angles should all be within acceptable ranges.
- You can also manually rotate the gimbal and observe the live feed on the app to check if the movement is smooth and stable and ensure that the camera view is normal without shaking or misalignment.
For video tutorials, please via on Youtube→ ATOM Drone Calibration

